Simple Project
All the settings related to a project are recorded in a XML project file. This file contains the definition of cameras, viewports, lights, scenes, materials libraries, and the pipelines to render. Animations can also be defined based on timers and interpolators.
Projects can be as simple as rendering a model with a defined camera, to projects containing multiple pipelines, each with multiple passes combining ray-tracing (NVIDIA only) and rasterization. All shader stages can be used including the compute shader.
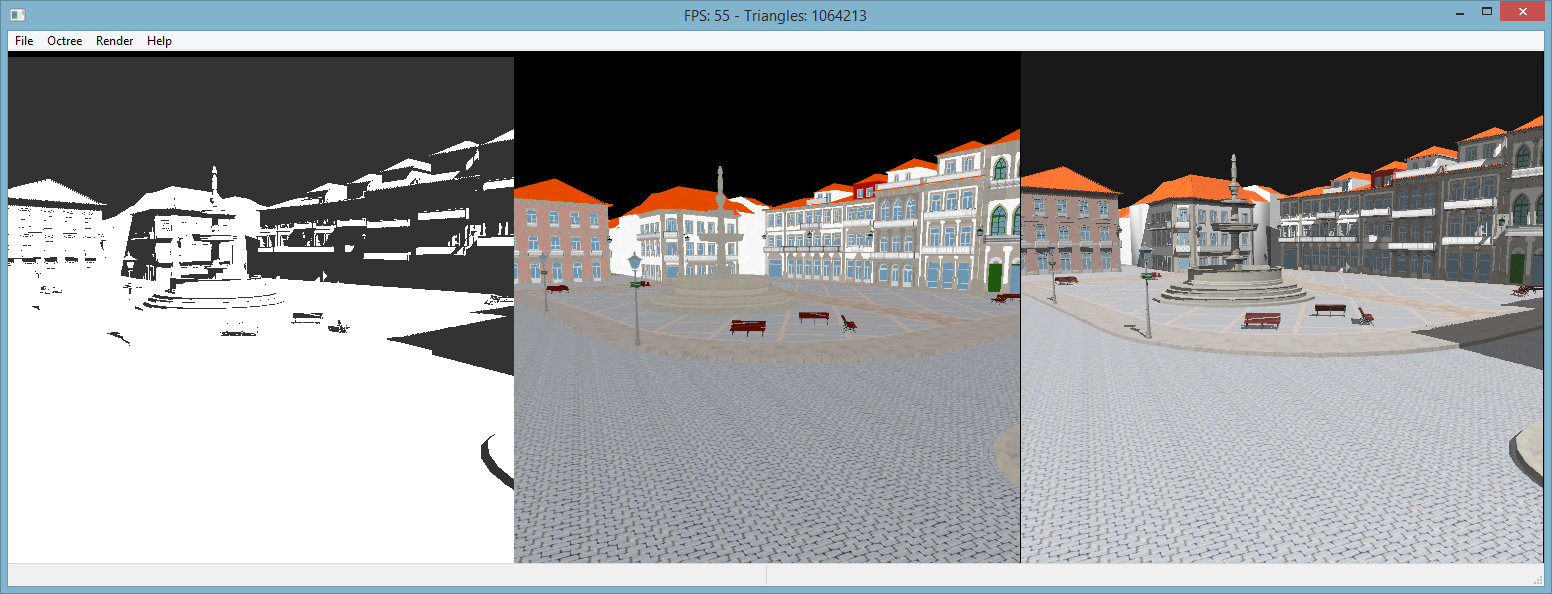
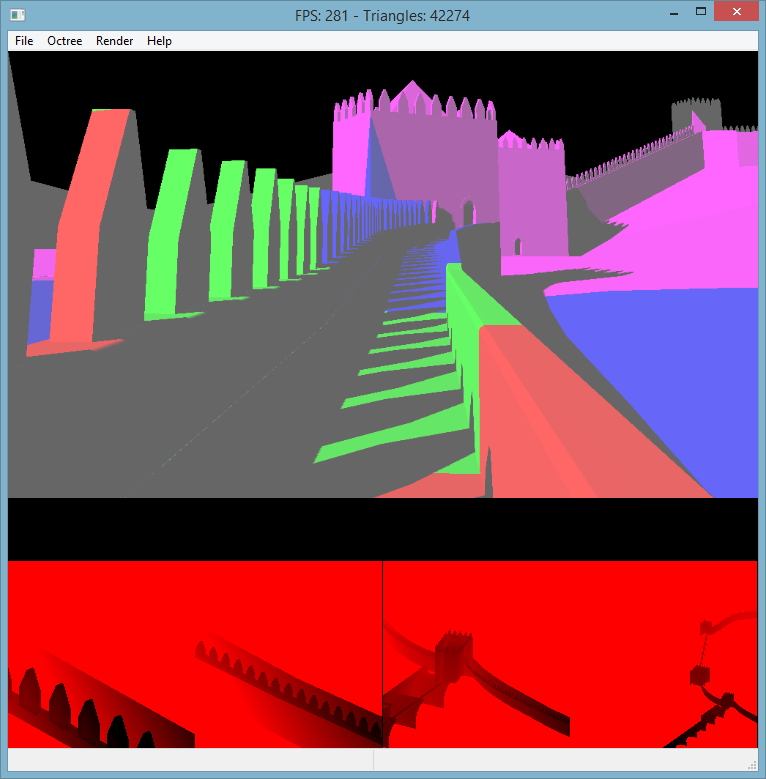
The screenshot shows a pipeline containing both OpenGL and NVIDIA Optix to compute shadows. The first pass creates a G-buffer with positions and colors. The second pass computes the shadows using Optix. And finally the third pass combines the shadow with the colours. Two more passes were defined to show the intermediate results: colours only, and the result from Optix.
But, lets start simple. Here is a basic example project:
<project name="Simple" width="512" height="512">
	<assets>
		<scenes>
			<scene name="Al" >
				<file>..\..\models\al.obj</file>
			</scene>
		</scenes>

		<viewports>
			<viewport name="MainViewport">
				<CLEAR_COLOR r="1.0" g="1.0" b="1.0" />
			</viewport>
		</viewports>

		<cameras>
			<camera name="MainCamera" >
				<viewport name="MainViewport" />
				<POSITION x=0 y=-0.5 z=7.5 />
				<VIEW x=0.0 y=0.0 z=-1.0 />
				<UP x=0 y=1 z=0 />
			</camera>
		</cameras>

		<lights>
			<light name="Sun">
				<DIRECTION x="1.0" y="-0.5" z="-2" />
				<COLOR r="0.9" g="0.9" b="0.9" />
			</light>
		</lights>
	</assets>

	<pipelines>
		<pipeline name="my pipeline" default="true">
			<pass class="default" name="pass1">
				<scenes>
					<scene name="Al" />
				</scenes>
				<camera name="MainCamera" />
				<lights>
					<light name="Sun" />
				</lights>
			</pass>
		</pipeline>
	</pipelines>
</project>
The project tag is the outer tag containing both assets and the pipelines. The assets are all the items we will use in the pipeline, where the pipeline is a sequence of passes.
In the assets tag we have defined a scene containing a 3D model from file al.obj. We also defined a viewport, a camera, and a light.
In the pipelines tag we defined a single pipeline with a single pass that will render the defined scene using camera “MainCamera” and light “Sun”.